How to Install
Revive Adserver
This article explains and illustrates how to install the Revive Adserver software on your own server, with best practices from the developers.
Installation instructions
The instructions below are not intended to be complete for every possible scenario, server operating system, or database software. If you don’t understand part or all of these installation instructions, please consider asking a colleague, friend, or anyone else you know who has more technical expertise to assist you with the installation. The instructions below should be sufficiently clear for them to complete the installation successfully.
Before proceeding, please study the Technical requirements for Revive Adserver, to make sure your server is compatible.
If you are currently using OpenX Source, the predecessor of Revive Adserver, you should not be looking at these installation instructions, but rather at our page about updating from OpenX Source to Revive Adserver.
1. Download the most recent version of the Revive Adserver software
To obtain the most recent version of the Revive Adserver software, visit the Downloads page on this website and click the button of the compressed file format of your choice. We have both .zip and .tar.gz files available. Store the downloaded file on your computer in a location where you can easily find it later.
2. Create a folder on your web server and upload the software
This installation procedure assumes you are going to install the Revive Adserver software in a sub directory of your website’s main address. For example, if your website is www.example.com, you could install it in www.example.com/adserver. Decide on a sub directory name and make a note of the name you decided on.
A word of advice: do NOT include a version number in the folder name! Once you have installed the software, this folder name will be used for all future versions and updates. Having a version number in the folder name will quickly become confusing. Have a look at this article about selecting a location for your ad server installation.
Using your FTP program, log in on your server and navigate to the directory of your web site’s main folder. Then create a new folder just below it with the name you selected.
Finally, you need to upload the software onto your web server, in one of these two ways:
- decompress the file you downloaded on your local disk (making sure that folder names inside the archive are retained) and upload all of the resulting files and folder from your local disk to your web server
- upload the compressed file to your web server, and unpack it there (from the command line), again making sure the folder names are retained.
3. Prepare a new database
Revive Adserver can work with either MySQL or PostgreSQL database software. The best option is to create a new database that will be used just for the data related to the Revive Adserver. Most hosting providers will offer MySQL database functionality as a standard.
Create a new database using the tools available on your server. We recommend using a database name that makes it very clear what the purpose of the database is. Something like “revive_adserver” will do nicely. However, you might want to consider adding something to the name to indicate which software version the database is for. For example, “revive_505” if you are installing version 5.0.5 software. In the future, when it is time to update to the next version, this will make things a lot easier (trust us, you will thank us later).
Create a new database user name, for example “revive_adserver”, and give this user the “all privileges” permissions on the database you created earlier. At this stage, you will have to decide on a password for the database user. Please make sure to create a safe, random password of sufficient length. The Random.org website offers a free tool to generate an entirely random, safe password. The phpMyAdmin tool also has a feature that will suggest a safe random password.
Make a note of the database name, database username and password you used, you will need it during the next steps. You will also need the ‘host name’ of the database server. In many cases, this is ‘localhost’, but you may need to consult the support pages or support staff of your hosting provider.
Many hosting providers provided web based tools for the creation of new databases and the associated security details. It is of vital importance that the database user has ‘all privileges’ on the newly created database. If not, the installation script (see below) will notify you and refuse to continue.
4. Open a web browser and start the installation process
To get started with the actual installation process, open your favorite web browser and navigate to the web address (URL) that corresponds with the folder you created on the web server.
For example, if you’ve decided to use the folder name ‘adserver’, enter the address www.example.com/adserver in the address bar of your browser and press Enter.
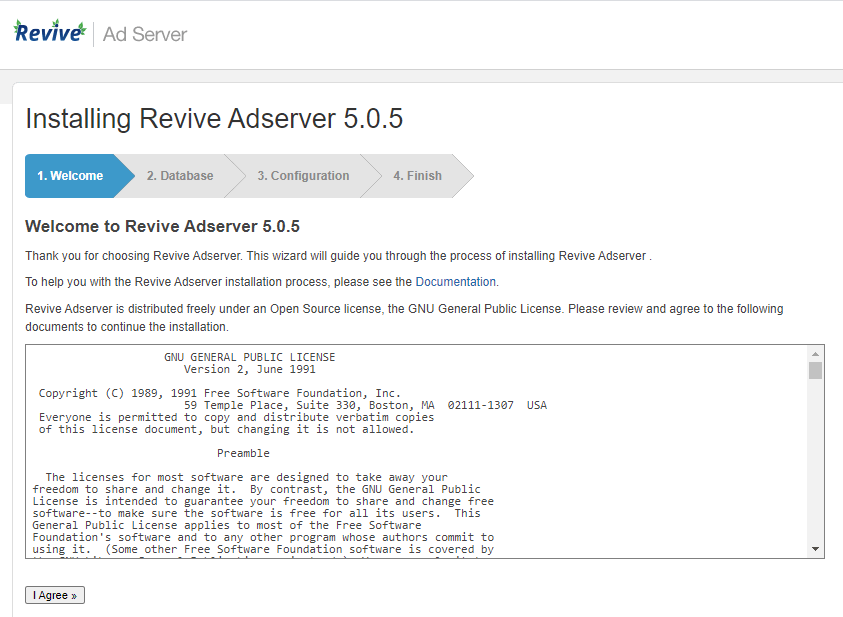
The installation wizard will start automatically and present the Welcome screen.
Click the “I agree” button at the bottom of the Welcom screen.
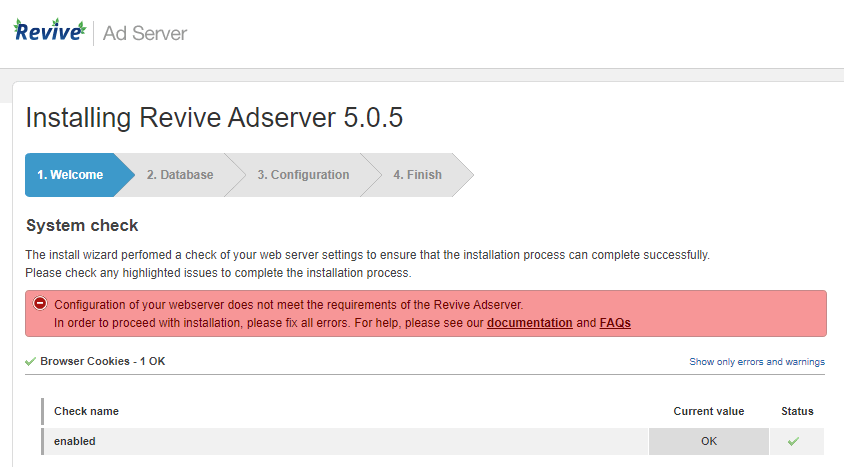
The installation wizard will now perform a check to make sure the server meets the technical requirements for the Revive Adserver software, and also to make sure that the folders and files have the right permissions.
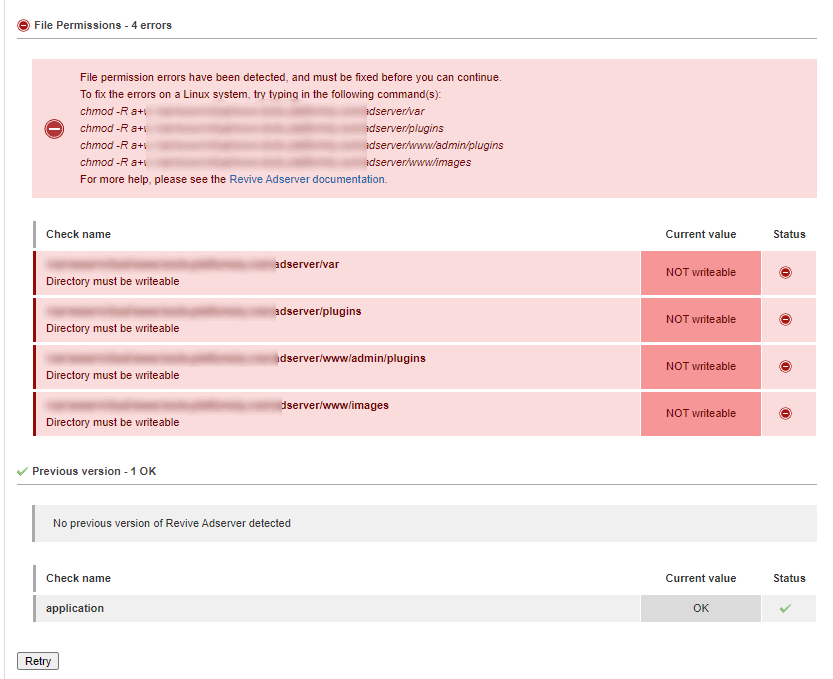
Here is an example of what the outcome of the system check will display if some of the requirements are not met.
Scroll down this page to see all the various things that have been checked and any changes that are required to proceed.
For example, you might be instructed to modify the ‘permissions’ of several of the folders that were created in step 3 above. Each folder you will need to modify will be clearly indicated, along with the required permissions.
You will even see the exact command line instructions you can use to make the necessary changes. Do NOT set all of the folders and files to these permissions, just the few files and folders indicated on the screen.
After you’ve made these changes, click the Retry button to run the system check again.
If the check results are OK, you will be directed to the next step in the installation wizard.
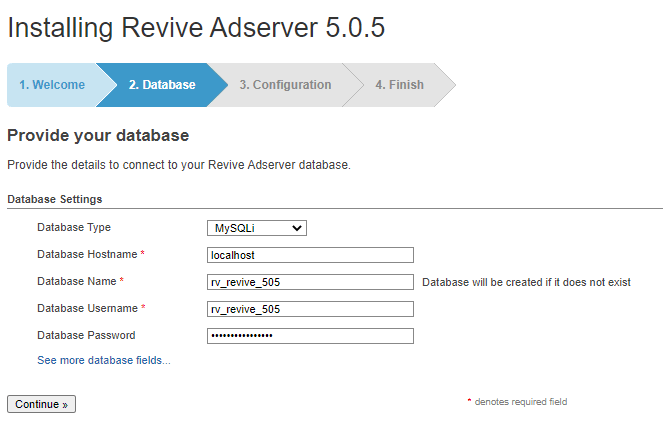
Here, you will have to enter the database credentials that you’ve jotted down earlier.
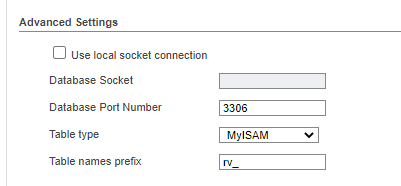
By clicking the “see more database fields” link, you can open another section of this screen with a few advanced database settings.
These are for experienced users and/or advanced use cases. If you don’t understand these settings, just leave whatever value is pre-defined and proceed.
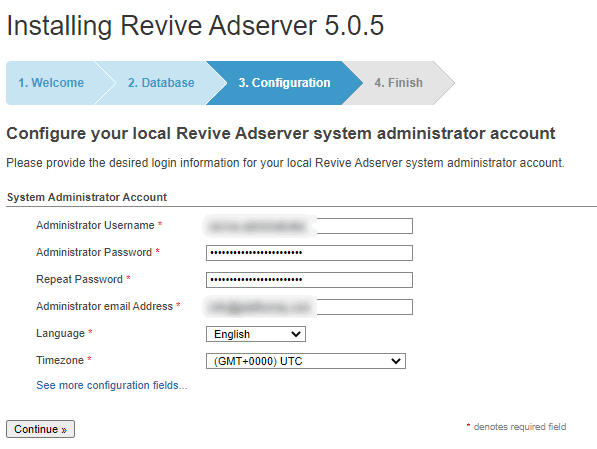
Next, you must enter the username, password and e-mail address of the person who will become the technical administrator of the ad server, and the preferred default language and timezone.
Here are some tips and recommendations for the administrator user:
Do not use the user name ‘admin’ or ‘administrator’ out of habit. Your ad server (like any application on the internet) will become the target of hacking attempts as soon as it’s online, and the first username that will be tried is ‘admin’. Use a longer username. Do not use your e-mail address as your username. In general, do not use anything that can be guessed or constructed easily by an outsider.
Do not use the same username and password you used for the database!
Use a safe, random password that is sufficiently long. Like with the database password in one of the steps above, you can use the free tool at Random.org to generate a safe password.
Do NOT use the same password that you already used for the database user.
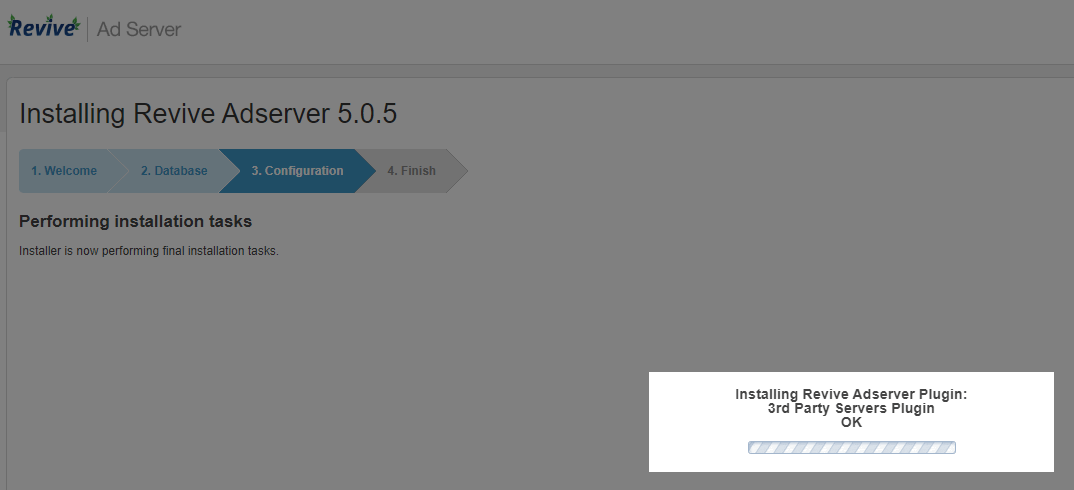
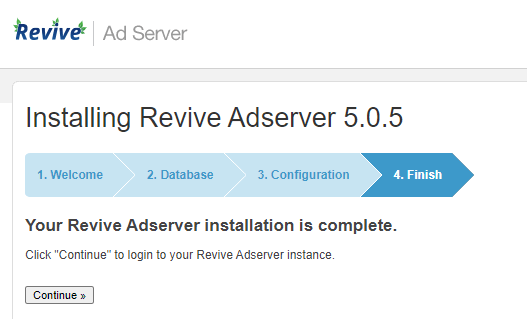
Once you’ve entered the administrator user credentials, click the ‘continue’ button. The installation wizard will now install and configure all the default plugins that ship with the software. This can take a few seconds to a few minutes, depending on the speed of your server. You’ll see what the installation wizard is doing for each plugin.
What’s next?
After you’ve successfully installed the Revive Adserver Download edition software on your own server, it is recommended to have a close look at our article describing How to Secure Your Revive Adserver system.
Articles about How to Use Revive Adserver
Websites
Check out the Hosted edition of Revive Adserver
Keen to start using the Revive Adserver software, but not so keen to download and install it on your own server? Revive Adserver Hosted edition might be just right for you!
