How to create a website
in Revive Adserver
This article explains how to create a website in the Revive Adserver software, with some tips and best practices from the developers.
Creating a website
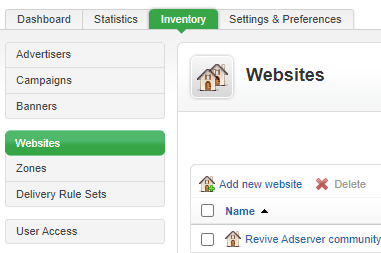
To create a new website, first navigate to the Inventory tab. By default, this will display the overview of existing advertisers (or an empty list if it’s a new installation).
Next, click the Websites link on the left hand menu to bring up the list of existing websites (or an empty list if it’s a new installation).
Then click the Add new website link at the top of the list.
Entering website information
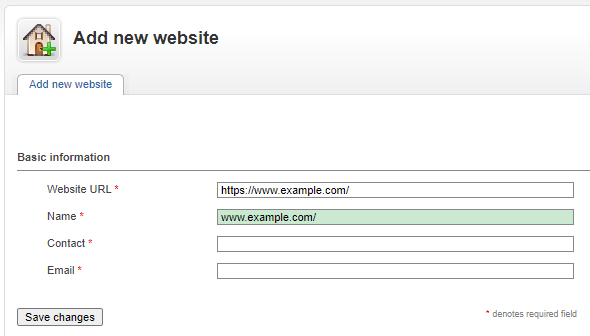
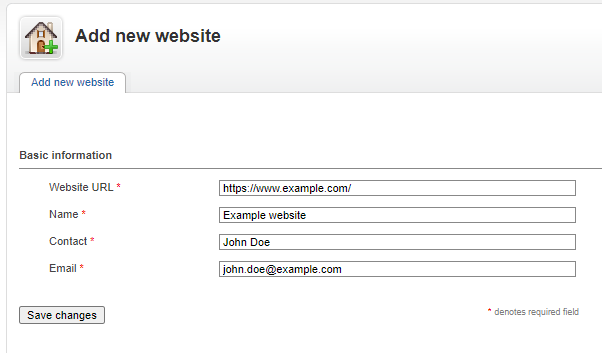
Start by entering the URL of the website. Note that the Revive Adserver software doesn’t actually do anything with this URL, it’s just there as a note so you can more easily identify which site it is in the future. Nevertheless, the field is mandatory, and the software will check that the URL you entered is technically valid.
Tips
You can create multiple entries for a single website, if you’re planning on selling or distinguishing the ads you run for separate sections of the site. For example, a site might have a section for news, another for a community forum, and another for a blog. Each of these sections might have their own graphic design and different needs for the ad spaces.
Keep the name of the site short, but always make it easily identifiable for yourself and for any others that will have to work with the system.
Contact details
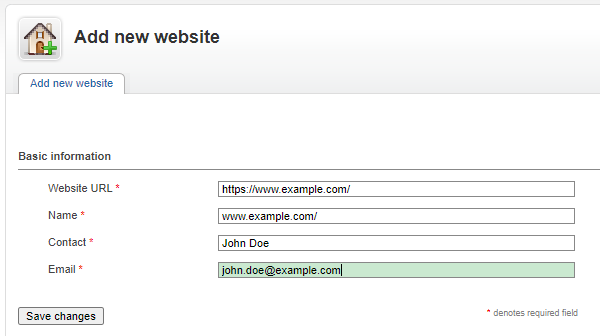
Finally enter the contact details of the person responsible for the site. This could be you, or a team member, if it’s a site that you or your company owns and operates, but it could also be some external contact if the site is owned and operated by a third party.
Tips
Note that the mere fact that you enter a contact’s name and email address in the Website properties does not mean this person will be able to log themselves or receive ad delivery statistics reports by email. There is a separate article about creating usernames for people who need to be able to access this information on their own.
Save new site
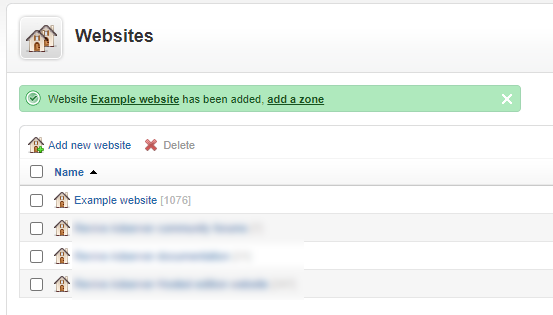
Once you hit the Save changes button, the new website entry is stored in the database and you are returned to the overview of sites.
At the top of the list, there is a notification to confirm that the new site was created, which also includes a link that enables you to create the first zone for the new site.
Next step:
Articles about How to Use Revive Adserver
Websites
Check out the Hosted edition of Revive Adserver
Keen to start using the Revive Adserver software, but not so keen to download and install it on your own server? Revive Adserver Hosted edition might be just right for you!
