How to create a zone
in Revive Adserver
This article explains how to create zones in Revive Adserver, with best practices and tips from the developers.
Introduction
A zone is a representation of a place on a webpage, where an ad can appear. In other ad systems, these are sometimes referred to as placements, ad units, or ad spots.
Revive Adserver uses zones so that you can place a small piece of HTML code inside your website’s source code, and then you can manage which ads must appear in that zone from inside the ad server, without having to make any changes to the site itself.
Creating a zone
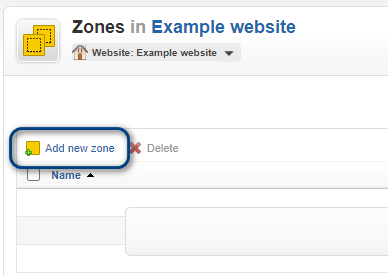
There are three ways to get started creating a new zone.
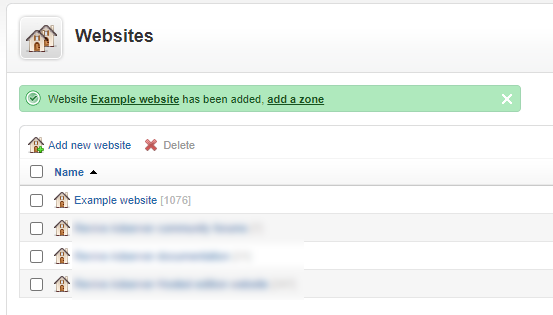
If you just finished creating a website, there will be a confirmation message at the top of the websites overview, with a link to create the new zone:
Whichever of the three links you use, they all bring you to the same screen where you can add a new zone.
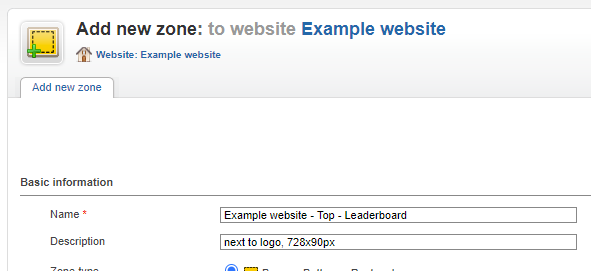
Enter name and description
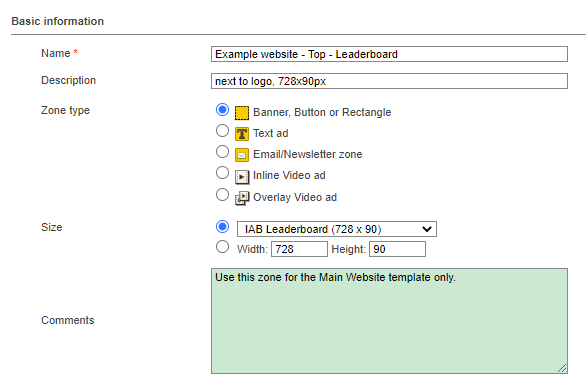
The Revive Adserver software will propose a name for the new zone, by taking the name of the website and adding “ – default” at the end. Remove the world default and enter a description of what the zone is going to be for.
The field for the description is optional, and can be used to add an additional bit of text about the zone.
Tips
We strongly recommend against simply using ‘default’, because if you do so every time, you will end up with a long list of zones that is impossible to distinguish between.
It is a good idea to establish a naming convention for zone names, and to make sure everyone on the team uses it, so that it will be easier to recognize zone names in reports and in other parts of the application.
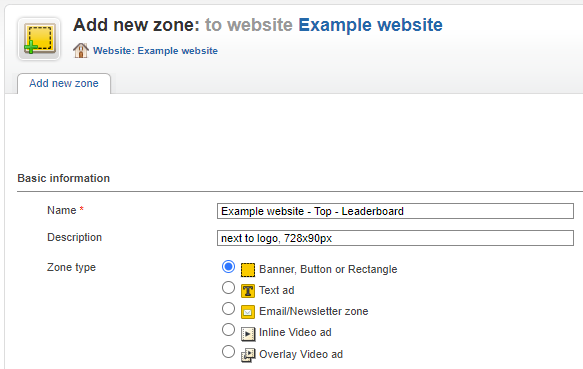
Select Zone Type
Every zone is of a specific type. The default type presented is Banner, Button or Rectangle.
In this article, we’ll focus on the Banner type, since that is used most frequently.
There is a separate article explaining the purpose of the other zone types and how to use those.
Select Zone Size
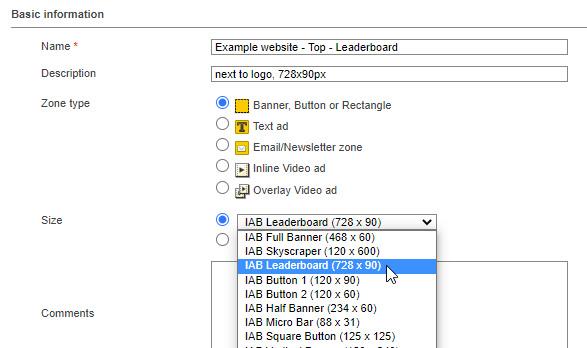
Next, specify the size of the zone, either by selecting from a set of industry-wide standard dimensions, or by entering the width and height of the zone manually.
Here, we’ve selected the standard Leaderboard dimensions, which have been defined as 728 pixels wide and 90 pixels high by the IAB (Interactive Advertising Bureau).
Comments
In the optional Comments field, you can enter some notes for later reference, for example in case you’ve made a change and want to document what has changed and when. Keep in mind that these notes will be visible to anyone else who has access to the zone properties.
Save the new zone
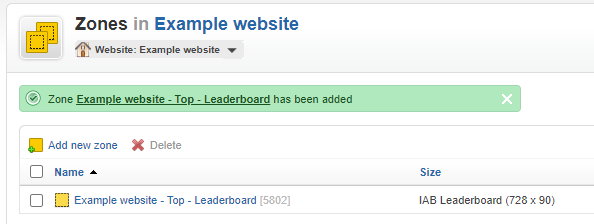
As soon as you click the Save changes button, the new zone will be stored in the database and you will return to the Zone overview page, with the new zone visible, and with a message that informs you the new zone has been successfully created.
You can now proceed to create any other zones you might need for the website, or you can create the invocation code for the new zone.
Articles about How to Use Revive Adserver
Websites
Check out the Hosted edition of Revive Adserver
Keen to start using the Revive Adserver software, but not so keen to download and install it on your own server? Revive Adserver Hosted edition might be just right for you!
