How to use Delivery Rule Sets
in Revive Adserver
This article explains how to create sets of delivery rules that can be used on multiple banners, instead of defining the same rules over and over on every banner separately.
Introduction
In Revive Adserver, you can specify rules that determine if a banner can be displayed or not. If you end up having to define the same delivery rule multiple times, it can be useful to create a named set of delivery rules, which can then be applied easily to new or existing banners.
Delivery Rule Set management screen
There are two types of Delivery Rules Set. One type is intended for individual websites, but this article is about the other type, which is global for your entire Revive Adserver account.
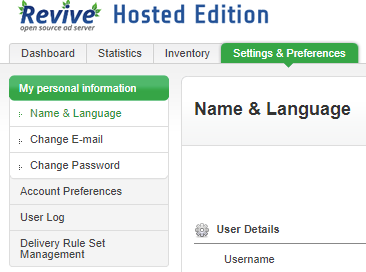
To access the screen where you can manage global Delivery Rule Sets, you need to first click the Preferences tab in the bar of tabs just under the logo, and then click the Delivery Rule Set Management link in the column on the left.
Adding a new Delivery Rule Set
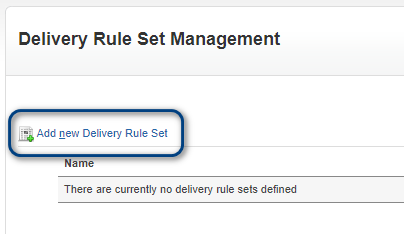
In a new installation of Revive Adserver, you will first see an empty list of rule sets. To add a new set, simply click the “Add new delivery rule set” link at the top of the list.
Naming the Delivery Rule Set
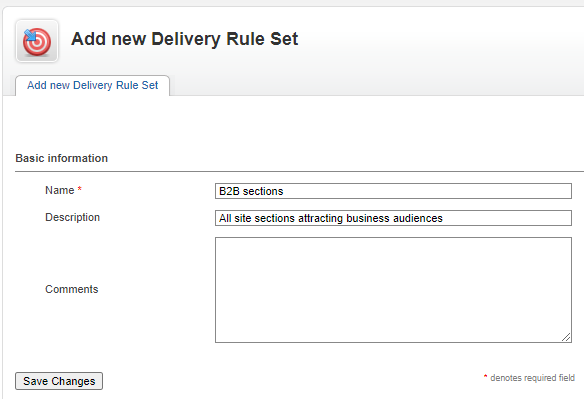
The first thing that must be done is to enter a name for the new Delivery Rule Set. Make sure to enter a name that will be easy to recognize later, to make your work and that of your colleagues simple in the future.
For this article, we’re creating a rule set to easily target several sections of a large news website that attracts business to business visitors. We’re calling the rule set “B2B sections”.
You can add a description and a comment for future reference as well.
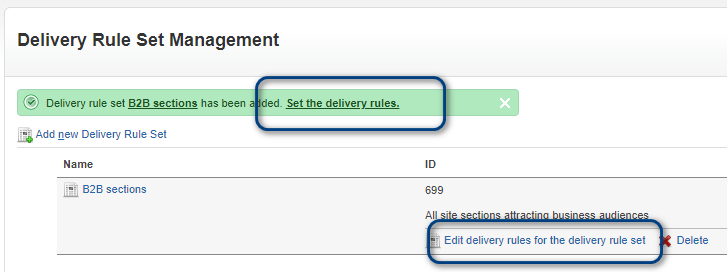
Once you’ve entered these bits of data, click the Save changes button to proceed. The list of Delivery Rule Sets will be displayed, with the new rule set in place, and a notification informing you about the outcome.
In this notification, there is also a link that you can click to go directly to the screen where you can define the rules for the new set. You can also click the link for each of your Rule Sets.
Defining the rules in the Delivery Rule Set
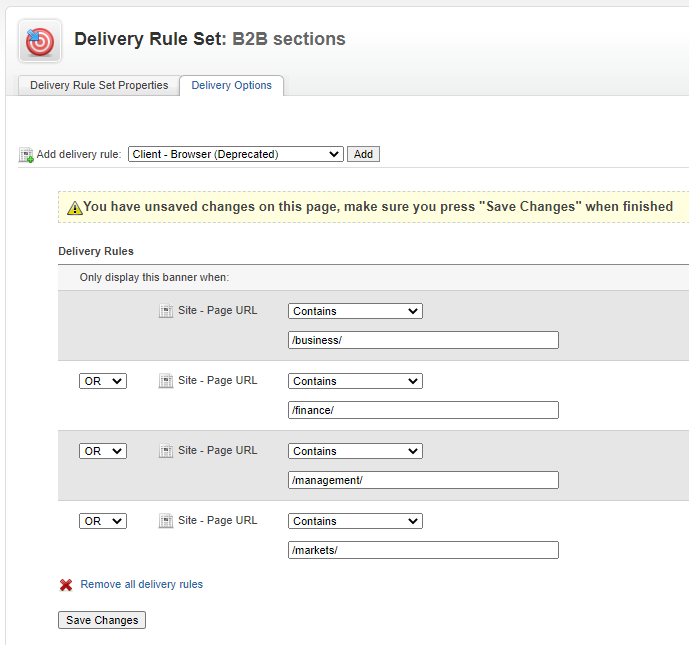
The screen where you can define the rules for a Rule Set is virtually identical to the equivalent screen for an individual banner. Simply pick the rule you need and click the add button, and then define the appropriate details.
Here is an example of targeting the sections of a news website with the terms /finance/ , /business/, /management/ , and /markets/ in the page URL.
Don’t forget to click Save changes.
How to apply a Delivery Rule Set to a Banner
Once a Delivery Rule Set has been created, you can apply it to any new or existing banner. To do so, navigate to the banner and click the Delivery Options tab.
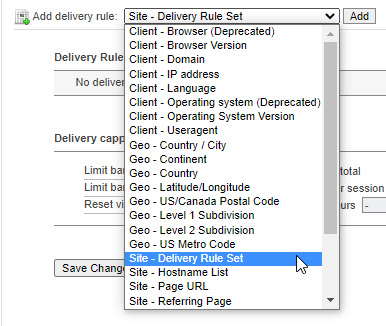
Now open the drop down for the “Add delivery rule” control, and pick the “Site – Delivery Rule Set” option. Next, click the “add” button.
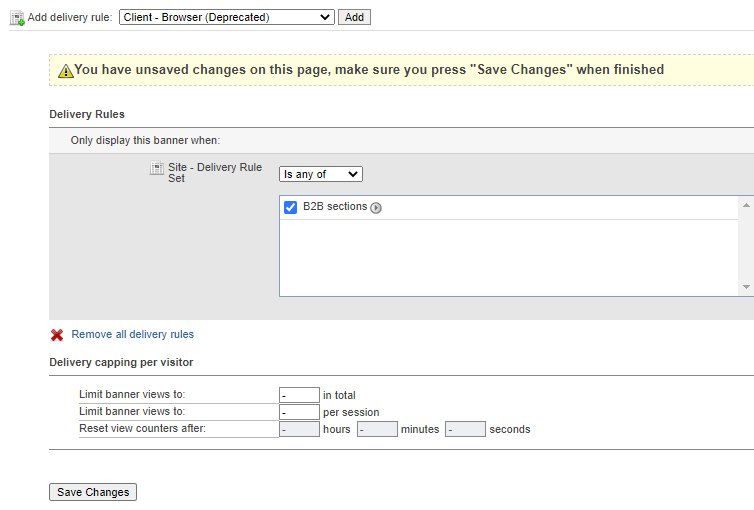
The screen reloads and now you will see a delivery rule enabling you to pick any of your pre-defined sets. Right now there is only one, but if there were more, you could even select more than one.
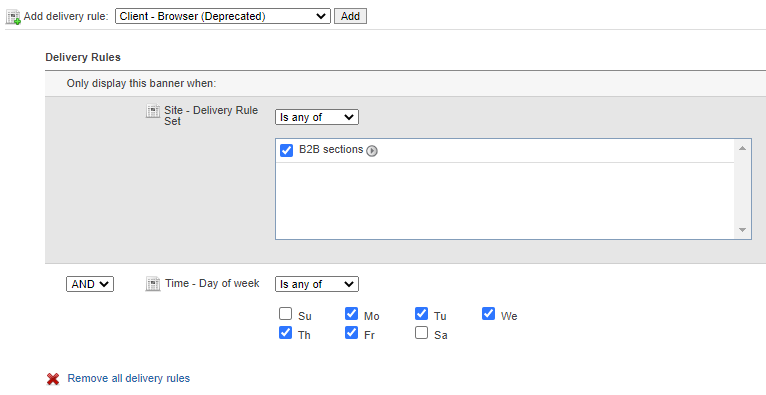
Keep in mind that you could have delivery rules sets that contradict each other, resulting in the banner not delivering at all.
Clicking the little arrow behind the set name will open the definition of the rule set in a new tab, so that you can double check that it is the right one.
Don’t forget to save the changes to the banner.
Changing a Delivery Rule Set
An additional benefit of using a Delivery Rule Set, is that once applied to banners, any changes you make to the Delivery Rule Set later will automatically be applied to all those banners.
Imagine having dozens or hundreds of banners all using the same rule set, and updating them all by making one change to the set!
Articles about How to Use Revive Adserver
Websites
Check out the Hosted edition of Revive Adserver
Keen to start using the Revive Adserver software, but not so keen to download and install it on your own server? Revive Adserver Hosted edition might be just right for you!
