How to Update Revive Adserver
to a new version
This article explains how to perform an update of an existing Revive Adserver installation, with tips on making the process fast and safe.
Introduction
This article explains how to update your existing Revive Adserver installation to a newer version of software.
This article was written by long time Revive Adserver team member Erik Geurts. It is based on more than a decade of experience updating hundreds of Revive Adserver installations. The process described on this page has been generalized so that it can be applied in a multitude of situations. Your mileage may vary!
The instructions below are not intended to be applicable for every possible scenario, server operating system, or database software. If you don’t understand part or all of these update instructions, please consider asking a colleague, friend, or anyone else you know who has more technical expertise to assist you with the update. The instructions below should be sufficiently clear for them to complete the update successfully.
Make Backups!
Before you start, the most important tip is:
make backups!
About Revive Adserver vs. OpenX Source
Revive Adserver is the successor for OpenX Source. Both applications stem from the same origin, and Revive Adserver v3.0.0 or higher offers a full update path from OpenX Source. Please read the release notes for the version you are about to update to, to fully understand the difference and changes.
Starting point and assumptions
Single server setup
The procedure described below is for a setup where there is just one web server that handles everything related to Revive Adserver. When you have a setup with multiple servers, the basics of the update process are the same, but obviously you’ll need to make some changes to the various steps. If you’ve managed to fabricate an installation with multiple servers, then you should be able to understand the differences.
Revive Ad server installed in www.example.com/adserver/
This article starts with the assumption that you’ve installed your ad server system on your website www.example.com in a folder called ‘adserver’ (so the address is www.example.com/adserver/), and that it has been installed and configured correctly. There is a separate article explaining the installation process and another article with tips and best practices for choosing a smart location for the installation.
Ad server running on a dedicated database
This article also assumes that you are using a database called “revive_adserver_xyz”, where xyz is the version number of your current software version. So if you’re running Revive Adserver version 3.0.0, your database would be named “revive_adserver_300”.
Next, we’re assuming that you have a specific MySQL user for the Revive Adserver database, and that this user has “all privileges” on that database. For the examples below, we assume that this user is called “revive_adserver”.
Banner images stored in www.example.com/adserver_images/
This article also assumes you have moved your banner image storage folder to a location outside of the Revive Adserver directory. If you haven’t done that yet, then it is suggested that you first do this by following the instructions in a separate article: How to move banner image storage location in Revive Adserver.
Overview of steps in the Revive Adserver update process
The update process consists of two major parts: preparations and update.
The preparations involve:
- Uploading the files of the new software version in a new folder on the server
- Creating a new database
- Copying and adjusting the configuration file
- Preventing the creation of backup tables
- Setting file and folder permissions
The actual update involves:
- Copying the database
- Running the update wizard
- Making the updated copy the live system
Read this procedure carefully and completely
It is strongly recommended that you read this whole procedure carefully and completely before starting. That way, you will know what to expect and what tools and information you will need.
You might even want to consider to do a dry run of the update on a staging server or test copy of your system.
Just like with a new installation, before you start on the update process, make sure your server environment meets the technical requirements for Revive Adserver.
A comprehensive list of non-backwards compatible changes in each new version of Revive Adserver has been created and posted on our documentation site.
Preparations for updating Revive Adserver
1. Upload the files of the new software version
The Revive Adserver software has been designed so that it can run the update wizard in a temporary folder. This means that the current software version will not be touched or changed in any way during the update process. In the unlikely event that something goes wrong while running the update wizard, the ad delivery on your site(s) will not be affected.
The first step in the preparations is to create a new folder at the same level as the existing ‘adserver’ folder. We recommend you call this folder ‘adserver_new’. Then use an FTP program to upload the files of the new version into the new folder. You could unpack the zip file that you have downloaded from the Revive Adserver website on your own computer first, and then upload the resulting file set to the web server into the newly created folder..
Note: If you decided not to move the banner image files outside the Revive Adserver software tree (see the above paragraph called “Banner images stored in www.example.com/images/”) then you will also have to copy the banner images from the adserver/www/images folder into the /adserver_new/www/images.
2. Creating a new database (optional)
Instead of running the update on the existing database, you could consider running the update wizard on a copy of that database. That way, when anything goes wrong during the update, the original database will be unharmed and will continue to work as if nothing happened.
The second step in the preparations is to create a new database with a name that reflects the new version number. For example, if you’re updating to Revive Adserver version 8.7.6 (a fictional version number!), your new database will be named “revive_adserver_876”. Create this new database, and also make sure that the MySQL user “revive_adserver” has “all privileges” on the new database.
3. Copying and adjusting the configuration file
The update process described here means you’ll be running the update wizard with the new database created in the previous step. To make this work, you will have to adjust the Revive Adserver configuration file for the update folder to point to the new database.
The Revive Adserver configuration file can be found in the ‘var’ folder just below the ‘adserver’ folder. The name of the starts with your domain name and ends in ‘conf.php’. So for our fictional installation at www.example.com/adserver, the configuration file is named www.example.com.conf.php.
First download it to your local computer using your FTP program, and open it in a text editor like Notepad. Do NOT use a word processor! You’ll need to make one change to the configuration file. Search for the database name in the [database] section, and change it to the name of the new database that you have created in the previous step. You may also have to adjust the database username and password if they don’t match the privileges for the existing database.
Then upload it into the ‘var’ folder just below the ‘adserver_new’ folder. Be careful not to upload it in the ‘adserver/var’ folder, that will break your running ad server system.
4. Prevent the creation of backup tables (optional)
The Revive Adserver update wizard normally creates backup versions of all the tables in your Revive Adserver database that are changed during the update. These backup tables are used to attempt a recovery when the update goes wrong in any way. If your database is large, and if the tables that need to be backed up this way are also large, this can result in a very big increase in the overall size of the database. It will also mean the update will take longer than without these backups.
However, since this update scenario involves creating a new database, copying all existing data into this new database and then running the update on that new copied database, there is no real need for creating those backup tables.
There is a trick to prevent the creation of the backup tables. Just create a file named “NOBACKUPS” in the ‘var’ folder just below your ‘adserver_new’ folder. The file can be completely empty, it’s just the name and the fact that it’s there that tells the update wizard to skip creating backup tables.
5. Setting file and folder permissions
During the update, but also during normal operations, the Revive Adserver software requires that several files and folders can be created or changed on the server. This means you will have to change the permissions of those folders and files. The update wizard will check this in one of the first steps, forcing you to make the changes at that time, but it’s easier to do it now during the preparations.
The following folders, plus all files and sub folders in them, will to be set to “writable”:
‘adserver_new/plugins’
‘adserver_new/var’
‘adserver_new/www/admin/plugins’
‘adserver_new/www/images’ (if you’ve decided to ignore the recommended location change described earlier on this page)
If your server is running on Linux or Unix, the permissions have to be set to ‘777’.
Selecting a day and time for the update
It’s a good idea to carefully plan the day and time for the actual update. Most sites will have a distinct day-and-night pattern in their visitor statistics. If you can, perform the update during the least busy time of the day (or night). This has several advantages:
The server will be less busy than during the daytime, and thus faster when it comes to making changes to the database tables and files and folders in Revive Adserver.
It’s likely that nobody will be working in the Revive Adserver user interface during the night, adding campaigns or banners for instance. In any event, tell anyone on your team to avoid working in Revive Adserver during the update process.
For the time it takes to perform the update, you will miss a few minutes worth of statistics. If you do the update at a time when few visitors are on the site, you’ll miss as little as possible.
At the very end of the update, you’ll have to swap the ‘adserver’ and ‘adserver_new’ folder names. Depending on how fast you can type, this will take a few seconds. Doing this at a quiet time of the night will mean that hardly anyone will notice it.
Whatever day of the week and time of day you select, make sure that you start the update steps just after the hourly maintenance process is completed. This means you’ll have a consistent copy of your data and that you’ll only be missing a few impressions, clicks and possibly conversions while going through the update process.
It might be that you’ll have to decide to do the update during the night from Sunday to Monday. So the disadvantage is obviously that you’ll have to sacrifice a chunk of time otherwise spent sleeping.
Performing the update
With all preparations complete, it’s time to perform the update for real.
The steps below will have to be performed in the shortest possible time. Make sure you’re not going to be disturbed or distracted by phone calls, meetings or people walking in to have you do other things. The time it will take to complete the whole update largely depends on the size of your database and the speed of the server. It could be as quick as a few dozen seconds, but it might actually take minutes or even half an hour.
1. Copying the database
As explained in detail above, the update process involves making a copy of your production database into a newly created database and then to run the update on this new database.
If you’re not comfortable with command line statements, you might be able to use a tool like phpMyAdmin to copy all of your tables from the existing database ‘revive_adserver_abc’ into the new database ‘revive_adserver_xyz’.
However, it is often faster to use a few command line statements to export the data from the existing database and then to import it into the new database. If you don’t know how, ask a colleague, team member, or outside expert for help.
Here is a template for the command line statements.
To export data from the existing database into a text file:
mysqldump -uUSER -pPASSWORD OLDDATABASE –skip-lock-tables > FILE.sql
To import data from this text file into the new database:
mysql -uUSER -pPASSWORD NEWDATABASE < FILE.sql
You’ll have to replace the USER, PASSWORD, OLDDATABASE and NEWDATABASE placeholders with the actual names and values.
Whatever way of copying the data you use, always make sure that you’ve got a copy of all the tables of your existing database. You can do this by comparing the list of tables of both databases.
2. Run the update wizard
After you’ve completed copying the database as described in the previous step, you can run the update wizard.
In your web browser, enter the address of your new Revive Adserver version, which in the example used in this article would be:
https://www.example.com/adserver_new
The Revive Adserver software will recognize that an update is in progress and instead of presenting the usual login screen, it will start the update wizard.
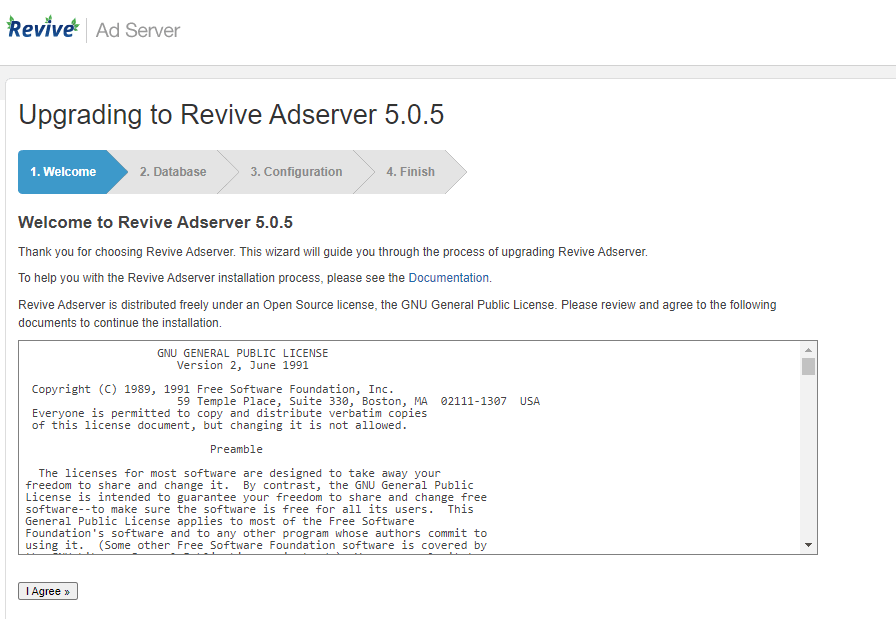
The update wizard will do all the necessary work for you. It involves a welcome screen, and a check for the technical requirements for your server to be able to successfully use Revive Adserver.
At some point you will have to prove that you are authorized to perform the update by entering the Revive Adserver administrator user name and password.
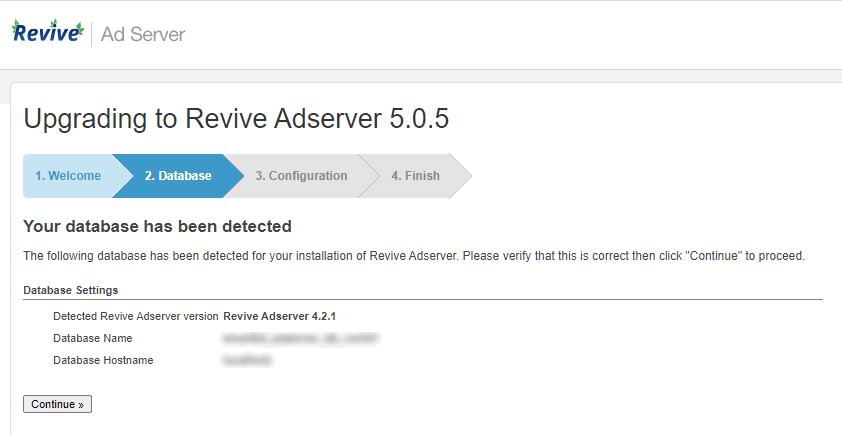
Next, the wizard will display the database connection details that it finds in the configuration file. Check and make sure that you’ve changed the database name in the configuration file to point to the new database containing the copy of the data. Do not perform the update on the existing database that is still being used for your live ad serving.
After this check, the update wizard will make all necessary changes to the database tables (if any). Depending on the size of the database and the speed of your web server, this could take just a few seconds, but it might take several minutes.
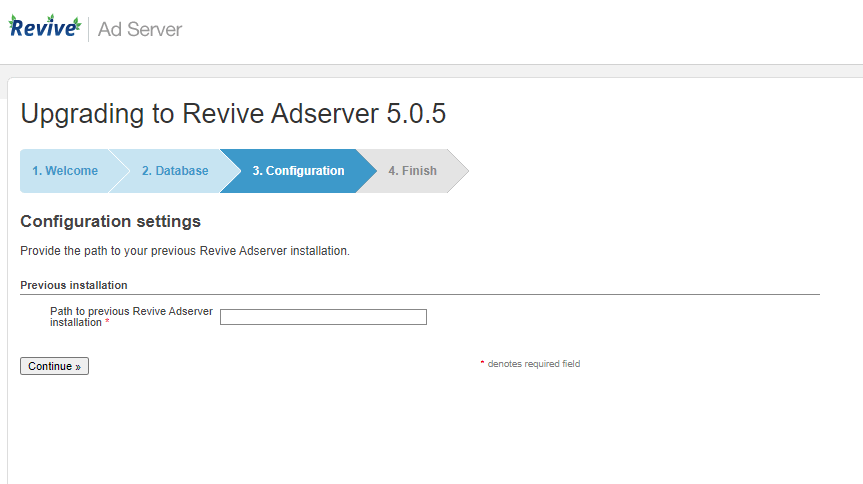
After the database changes have been completed, the update wizard will display the folder path of the ‘old’ copy of the ad server. Since we’re actually working in a temporary folder, this should in fact be the folder path of the current, live version of the system. Check and confirm that the path is correct. In some cases, the path might not be pre-filled. In that case, make sure to paste in the full absolute path of your current version. If you don’t know what this means, please consult your hosting provider or system administrator.
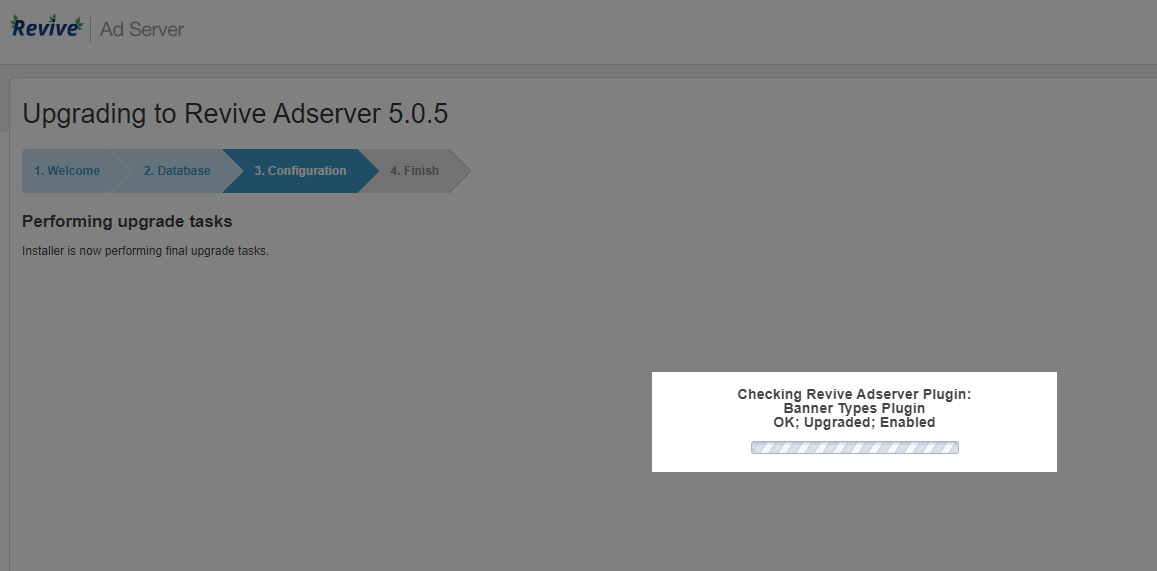
The update wizard will now find out which plugins are installed in the current version and then install the same set of plugins in the new version. During this step, it will even check if there are any new versions of any of the plugins and if so, it will install those instead of the older versions. Some plugins will actually create or update tables for their own use.
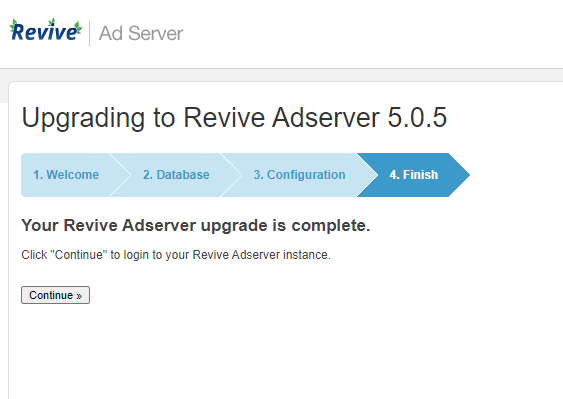
At the very last step of the update wizard, it will present a page informing you that the update was successful. If you click the “Continue” button on that page, your browser will be redirected to the ‘official’ address of your Revive Adserver installation, which is https://www.example.com/adserver/www/admin/. Since you are probably not logged in on that live copy, you’ll be presented with the login screen. Don’t be alarmed! The next step will take care of this.
If anything goes wrong while running through the update wizard, carefully read any warnings, errors and notifications you see in the browser. In almost all cases it will be clear enough how the problem can be corrected. You’ll have to decide if you want to correct the problem(s) right away and continue or if you’ll need to postpone the update for more complex problem fixing later.
Whatever is the case and whatever is the cause, do not perform the next and final step in the event of any major problems during the update wizard.
Important note about disabled plugins
There have been reports by people updating from OpenX Source v2.8.x to Revive Adserver v3.0.0, who noticed that some or all of their plugins ended up being disabled after they completed the update. This issue has been corrected in Revive Adserver v3.0.1, released on December 13, 2013.
However, nobody should be attempting to update to version 3.0.0, there are newer version available.
3. Swap the folder names to have the updated copy delivering ads
If the update wizard completes without errors or problems (see the last paragraphs of the previous step), all that is left is to swap the folders to make your updated copy the live copy. Here’s how:
- Rename your existing ‘adserver’ folder to ‘adserver_old’
- Rename your new ‘adserver_new’ folder to ‘adserver’
This should ideally be done in a short sequence, within a matter of seconds.
4. Securing your installation
After the update procedure has completed successfully, you will have one final task:
Using your FTP program, navigate to the ‘var’ folder that’s part of the Revive Adserver folders. If you’ve installed the application in the ‘adserver’ folder, then you will need to navigate to the ‘adserver/var’ folder.
In this folder, you will see a file with a name that starts with the web address of your site and ending in ‘conf.php’. For example, if you’ve installed your ad server in www.example.com/adserver, then the configuration file will be named ‘www.example.com.conf.php’.
Using your FTP program, change the permissions of this file from ‘777’ to ‘644’.
This will ensure that your ad server system is ‘locked’ so that nobody can make changes to the configuration without your consent. If you want to make changes to the system configuration and settings at a later stage, just change the permissions to ‘777’ temporarily, and don’t forget to change them to ‘644’ again after you’re done.
Finally…
After going through this complete update procedure, you are now running the new version of the Revive Adserver software in the original folder name www.example.com/adserver. So there is no need to make any changes to the invocation code on your site(s).
It is recommended to keep the ‘old’ version of the software, currently sitting in the ‘adserver_old’ folder, around for a little while. If you find anything wrong with the new version, you can easily switch back to the old version (including the original database) by changing the folder names back to their original names: adserver to adserver_new, and then adserver_old to adserver.
After a few hours or days, when you have made sure that everything in the new version works smoothly, you can proceed to delete the old database and the files and folders in the ‘adserver_old’ folder on the web server.
Articles about How to Use Revive Adserver
Websites
Check out the Hosted edition of Revive Adserver
Keen to start using the Revive Adserver software, but not so keen to download and install it on your own server? Revive Adserver Hosted edition might be just right for you!
